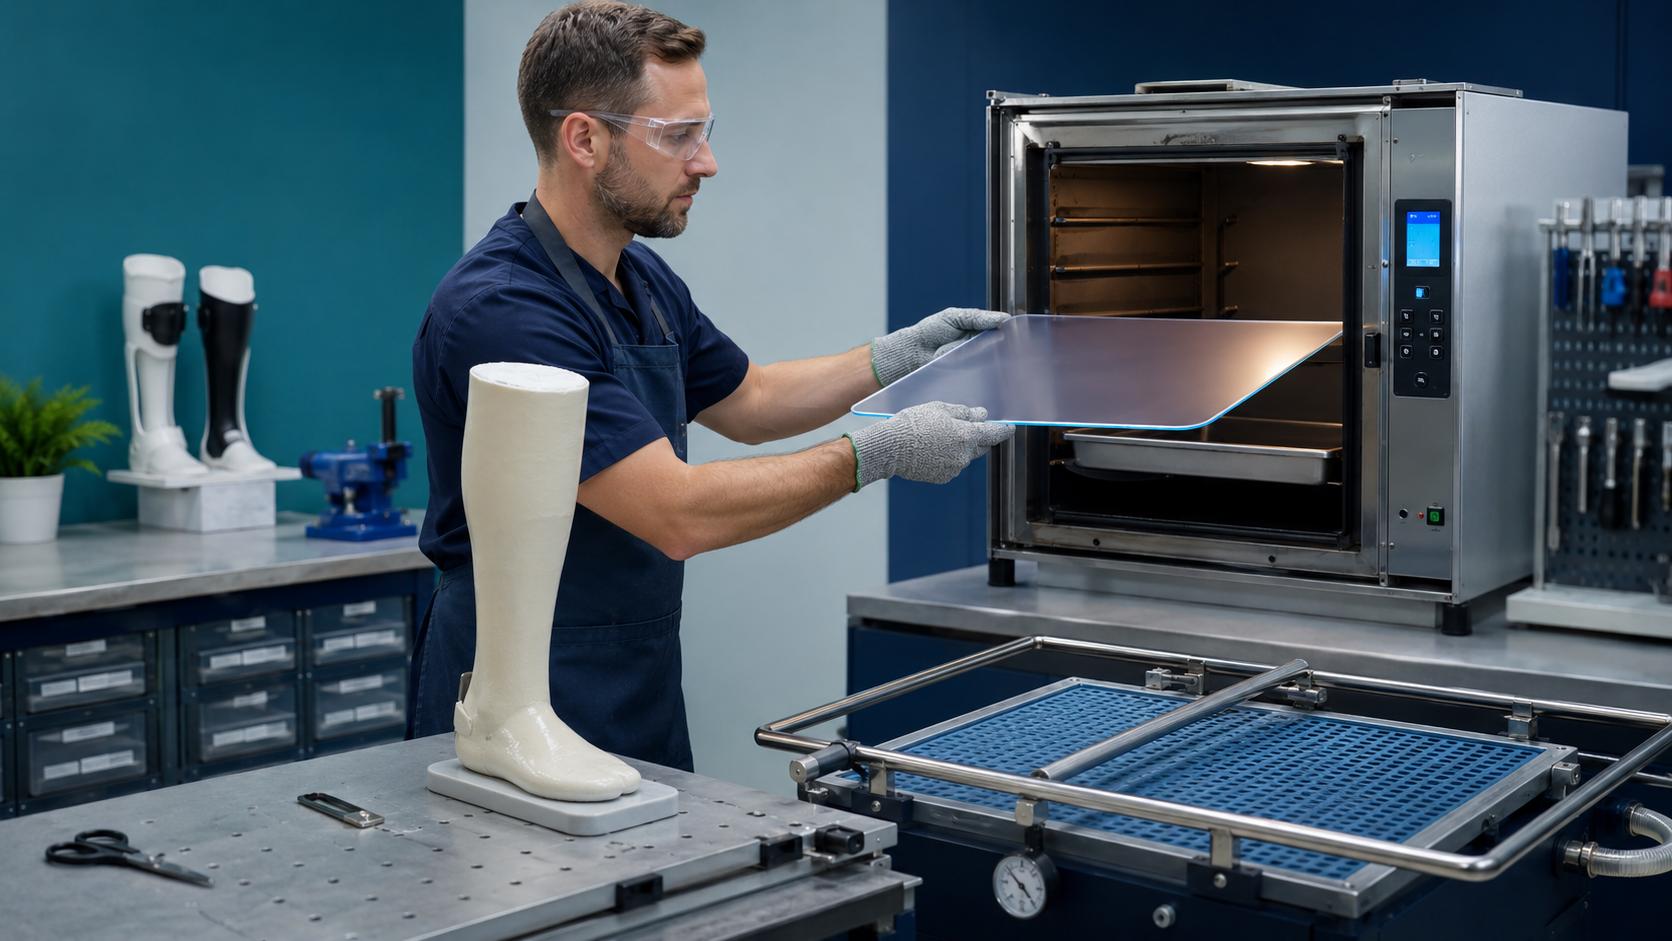
Working with Thermoplastics: Heating, Forming and Cooling Principles
Thermoplastic fabrication can appear straightforward: heat a sheet, form it over a model and allow it to cool. In practice, material identification, temperature control, timing, stretching, vacuum quality and cooling determine whether the final device is strong, accurately molded and clinically usable.
Follow the current material supplier’s processing instructions. A familiar-looking sheet may have different forming behaviour, temperature requirements and shrinkage.
Know the Material Before Heating
PPH, PPC, polyethylene, copolymer blends and specialty thermoplastics do not behave identically. Label sheets and offcuts so the material, thickness and batch remain traceable. Using an unidentified sheet introduces avoidable uncertainty into strength, flexibility and forming quality.
Prepare the Model and Work Area
- Confirm patient, side, prescription and model markings.
- Finish the positive model smoothly and protect required reliefs.
- Ensure the vacuum system, stockinette and sealing surfaces are ready.
- Cut sufficient material for draw depth and safe handling.
- Prepare heat-resistant gloves, tools and staff roles before opening the oven.
- Keep walkways and hot-material transfer routes clear.
Even Heating
The sheet should heat evenly through its thickness. Cold areas resist stretching and may bridge over contours; overheated areas may become excessively thin, glossy, bubbled or degraded. Oven calibration, air circulation, sheet placement and contamination all matter.
Visual sag can be a useful workshop cue only when combined with known material behaviour and manufacturer guidance. It should not replace appropriate temperature and time control.
Forming and Stretch Management
Plan how the material will travel around the model. Deep heel, ankle and calf contours can produce thinning. Uncontrolled folds may create weak areas or prevent full contact. Staff should position the sheet deliberately, establish the seal quickly and avoid touching functional surfaces with contaminated tools.
Vacuum and Total Contact
A stable vacuum helps draw material into the model contours. Leaks around the pipe, stockinette or base can reduce definition. Inspect whether the plastic has captured the heel, malleoli, arch and other required regions rather than assuming that visible suction means complete molding.
Cooling Is Part of Forming
Removing or cutting the material too early can allow distortion, loss of alignment or shrinkage. Cooling should be controlled until the formed material is stable. Local forced cooling may create uneven internal stress if used inappropriately.
Hot plastic can cause serious burns. Use suitable gloves, trained handling techniques, guarded equipment, ventilation and the workshop’s approved safety procedures.
Inspect Before Cutting
- Check for bubbles, scorching, contamination and excessive thinning.
- Confirm heel, ankle, arch and proximal contours were captured.
- Look for folds or bridging across concave regions.
- Confirm the material did not shift and change the intended alignment.
- Compare the result with the prescribed trimlines before removing material.
Finishing Without Weakening
Cutting, routing and sanding generate heat. Aggressive finishing can thin the device, create notches or overheat edges. Smooth transitions and rounded internal corners help reduce stress concentration. Final polishing must preserve the structural width required by the prescription.
Learning from Forming Defects
When a pull fails, identify the cause: wrong material, uneven heating, insufficient sheet size, poor seal, model moisture, excessive draw, incorrect handling or premature cooling. Recording the reason improves consistency and avoids repeating the same waste.
Conclusion
Reliable thermoplastic fabrication depends on preparation, material knowledge and controlled processing. Heating, forming and cooling are connected stages; quality lost in one stage cannot always be restored during trimming or fitting.