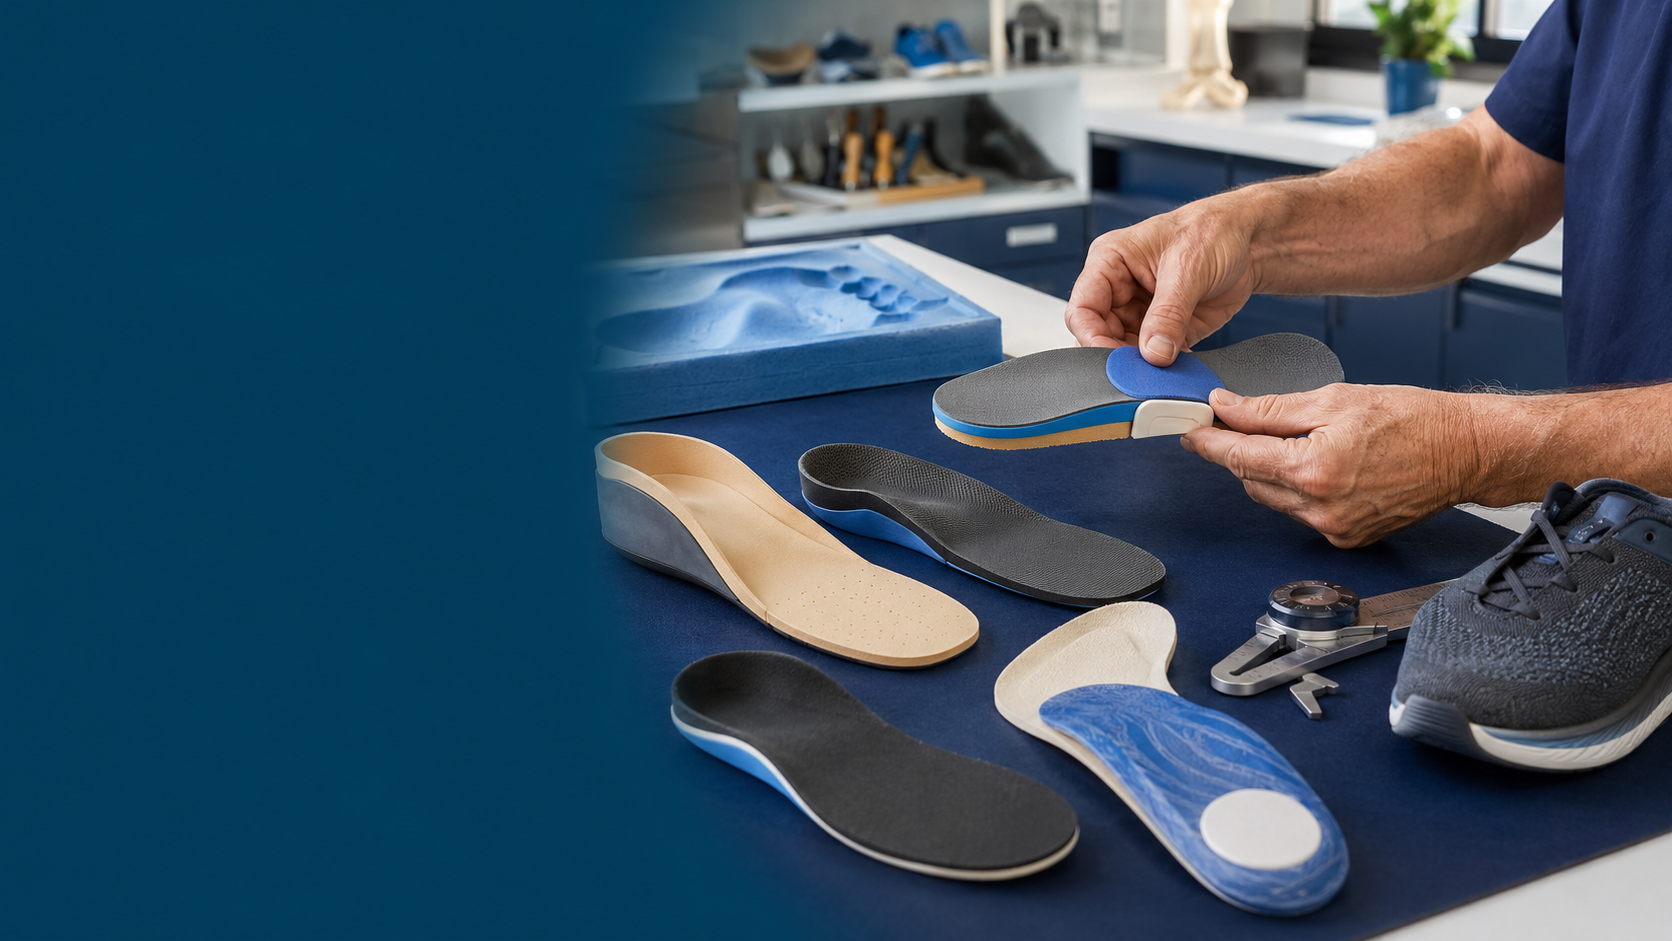
Different Types of Orthopedic Insoles and How We Modify Them According to the Patient
Orthopedic insoles are often described as soft, rigid, corrective or supportive. In clinical practice, however, the label on the package is only the starting point. The therapeutic result depends on selecting the correct base, modifying it accurately, fitting it into suitable footwear and reviewing how the patient responds.
Prefabricated and modular systems—including products supplied by Corazza and Schein—can provide efficient, high-quality foundations for treatment. They are not simply taken from the shelf and placed inside the shoe. A qualified clinician may grind, post, relieve, pad, reshape or cover the blank according to the person’s anatomy, pressure pattern, gait, diagnosis and functional goals.
A prefabricated insole becomes patient-specific through assessment, clinical selection, skilled modification, footwear integration and follow-up.
Assessment Before Selecting the Insole
The diagnosis alone does not determine the design. Two people with “flat feet” may need very different interventions. The assessment should include:
- Presenting symptoms, activity demands and treatment goals
- Standing foot posture and hindfoot alignment
- Whether the deformity is flexible, partially correctable or rigid
- Ankle dorsiflexion and calf-muscle tightness
- First-ray function, forefoot alignment and toe deformity
- Gait, footwear wear pattern and lower-limb alignment
- Location of pain, callus or excessive plantar pressure
- Skin condition, circulation and protective sensation
- Body weight, occupation, sport and daily walking environment
- Shoe depth, width, fastening and internal volume
Main Types of Insole Construction
| Insole type | Main characteristics | Typical clinical purpose |
|---|---|---|
| Soft accommodative | Low-density EVA, Plastazote, Poron or layered foam | Cushioning, pressure redistribution and protection of sensitive feet |
| Semi-rigid functional | Moderate-density EVA, thermoplastic or combined shell and foam | Support while retaining some flexibility and shock absorption |
| Rigid or controlling | Thermoplastic, composite or carbon-reinforced structure | Greater control with a thinner profile when clinically appropriate |
| Modular prefabricated | Pre-shaped arch, heel cup and removable or add-on elements | Efficient customization through posting, grinding and localized additions |
| Sensomotoric | Strategically positioned elements intended to influence neuromuscular response | Selected gait and muscle-activation goals after specialist assessment |
| Condition-specific | Designs for heel symptoms, diabetes, sport, safety footwear or other defined needs | Combines an appropriate base with features for a particular environment or risk |
Corazza and Schein as Workshop Examples
In many orthotic workshops, commercial insole blanks are selected according to their base geometry, density, available sizes, heel cup, arch profile and modification potential. Corazza products may be used as practical prefabricated foundations where available through the clinic’s supply system. Because models and specifications can vary, the clinician must check the exact product sheet rather than relying only on the brand name.
Schein’s NovaPED range demonstrates the modular approach clearly. The manufacturer offers multiple categories, including warehouse blanks, sensomotoric models, heel-focused designs, sport and occupational systems. Certain models can be thermoplastically shaped, ground or combined with additional elements. The NovaPED flexspot concept uses removable layered zones to create localized contact or relief areas.
Brand selection is secondary to clinical suitability. The question should be: “Does this particular blank provide the geometry, material properties, depth and modification options required for this patient and this shoe?”
Common Clinical Modifications
Medial arch and heel support
For a flexible planovalgus pattern, the clinician may select a deep heel cup, contour the medial arch and add a medial rearfoot or forefoot post when indicated. The objective is not to force a rigid correction but to support the foot comfortably and influence loading without creating excessive pressure beneath the navicular or arch.
Lateral posting or stabilization
A carefully positioned lateral element may be considered for selected varus or cavovarus patterns. Rigid deformities and reduced sensation require particular caution because aggressive posting can concentrate pressure along the lateral border.
Metatarsal pad or bar
For selected metatarsalgia or forefoot overload, a metatarsal pad is normally positioned proximal to the metatarsal heads rather than directly beneath the painful area. Its height, width and location are gradually adjusted according to comfort and pressure response.
Localized relief
Material may be removed or replaced with a softer insert beneath a painful prominence, callus or vulnerable area. Examples include heel apertures, first- or fifth-metatarsal relief and accommodation for plantar prominences. Relief must be combined with effective load transfer around the area; simply cutting a hole can create a new pressure edge.
Heel lift
A heel raise may be used for a clinically assessed leg-length difference, limited ankle dorsiflexion or selected tendon symptoms. The required height should be introduced carefully, and larger corrections may need external shoe modification rather than excessive internal bulk.
Top covers and cushioning
EVA, Plastazote, microfiber, Poron or other cover materials may be selected for cushioning, friction control, moisture management and durability. The material must match the person’s skin risk and footwear volume. Softness alone does not guarantee pressure relief if the underlying contour is incorrect.
Examples by Clinical Presentation
| Presentation | Possible design direction | Important precautions |
|---|---|---|
| Flexible pes planovalgus | Contoured semi-rigid support, heel cup and carefully dosed medial control | Avoid painful overcorrection; assess calf tightness and footwear |
| Pes cavus | Greater total contact, cushioning, lateral-border management and forefoot accommodation | Identify rigid pressure points and neurological causes |
| Plantar heel pain | Heel cushioning or relief with arch support and load distribution | Insole is one part of management; review activity, calf flexibility and diagnosis |
| Metatarsalgia | Metatarsal pad or bar, forefoot cushioning and suitable rocker footwear when prescribed | Confirm placement and exclude stress injury or inflammatory disease |
| Diabetes or sensory loss | Accommodative, total-contact, multi-density design with suitable diabetic footwear | No aggressive corrective pressure; frequent skin and pressure review |
| Tiptoe or equinus gait | Selected sensomotoric elements may be trialed in appropriate cases | Determine neurological cause and range; an insole may not replace an AFO |
| Sport or prolonged standing | Activity-specific geometry, durable cushioning and shoe-compatible support | Assess the actual sport or safety shoe and its certification requirements |
Footwear Is Part of the Orthosis
An effective insole can fail inside an unsuitable shoe. The shoe should have adequate width and depth, secure fastening, a stable heel counter and enough room after the original removable liner is taken out. A narrow shoe can distort the orthosis, compress the toes and create new pressure areas.
Occupational safety shoes require special care because altering the internal system may affect certification. Only approved combinations and manufacturer instructions should be used where protective standards apply.
Fitting and Follow-Up
- Check that the insole sits flat and does not rock inside the shoe.
- Confirm heel position, arch contact, toe room and shoe closure.
- Observe standing alignment and walking response.
- Ask about pressure, instability, slipping and changes in symptoms.
- Inspect the skin after the initial trial, especially when sensation is reduced.
- Introduce wearing time gradually unless the clinical plan specifies otherwise.
- Review and modify based on function—not only the appearance of the insole.
People with diabetes, neuropathy, vascular disease, open wounds, previous ulceration, severe deformity or unexplained acute pain need appropriate medical and multidisciplinary assessment. A prefabricated insole should not be used to self-treat an ulcer, infection, suspected fracture or ischemic foot.
The Workshop–Clinic Connection
Good insole care depends on communication between assessment and fabrication. The workshop needs to know the desired mechanical effect, pressure-sensitive areas, shoe type and the limits of correction. The clinician must then verify that the finished device achieves the intended result on the patient.
Corazza, Schein and other systems can save fabrication time and provide consistent starting geometries. Their value is greatest when the clinician understands both the product and the patient. The goal is never simply to dispense an insole—it is to create a safe interface between the foot, footwear and ground that supports meaningful activity.
Key Takeaways
- Insole selection begins with assessment, not the brand name.
- Soft, semi-rigid, rigid, modular and sensomotoric designs serve different purposes.
- Posting, relief, metatarsal elements, heel lifts and top covers must be positioned individually.
- The insole and shoe must function as one system.
- Diabetes and sensory loss require accommodative design and close skin monitoring.
- Final fitting and follow-up determine whether the modification is clinically successful.
This article provides professional education and does not replace individual foot assessment or medical diagnosis. Product specifications should be confirmed from the current manufacturer documentation.
Product references: Schein NovaPED insole systems; NovaPED flexspot customization system; NovaPED sensoCAD models and adjustment guidance.