Fitting and Delivering Prefabricated Upper-Limb Orthoses Safely
A prefabricated orthosis arrives in a standard shape, but it should not leave the clinic as an unchecked standard product. Sizing, contour, joint position, strap tension and patient education determine whether it becomes a useful clinical intervention or an uncomfortable item that remains unused.
“It closes” does not mean “it fits.” A successful fit maintains the prescribed position without pressure, circulation compromise or unnecessary loss of function.
Confirm the Device Before Opening
Check the prescription, diagnosis, side, size, model and intended motion control. Review contraindications and the manufacturer’s instructions. This avoids forcing a right-sided device onto the left hand or selecting a wrist-only brace when thumb immobilization is required.
Assess Before Application
- Inspect skin, swelling, wounds and bruising.
- Check sensation, circulation and pain.
- Confirm the permitted joint position and range.
- Identify bony prominences, scars and vulnerable nerves.
- Remove jewellery when clinically appropriate.
- Compare current measurements with the product size guide.
Apply in a Logical Strap Sequence
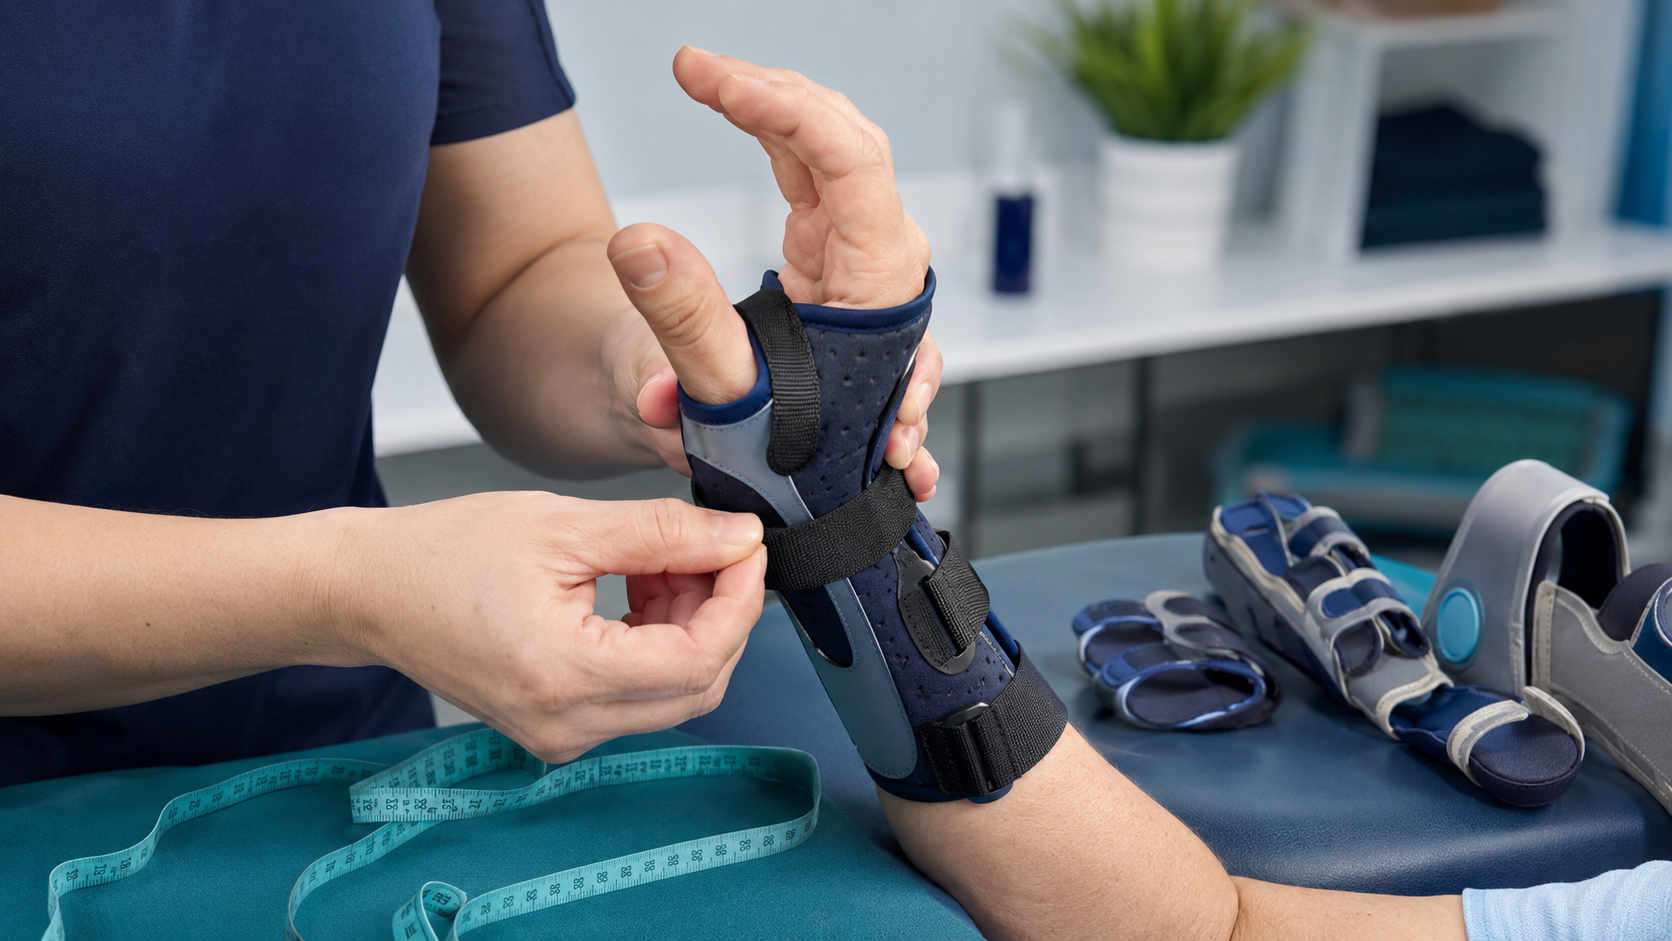
Place the hand or limb fully into the orthosis before tightening. Secure the main anchoring strap first, then align secondary straps so they hold without twisting. Straps should lie flat, avoid crossing sensitive areas and leave enough length for swelling changes only when this is part of the clinical plan.
Check Critical Anatomical Areas
At the wrist, ensure that the distal edge does not block finger flexion or press into the palmar crease. Around the thumb, protect the first web space and check that the opening does not cut into the MCP or CMC region. Finger splints should control the intended joint without creating distal swelling. Elbow hinges must align appropriately with the anatomical axis.
Stays and Contouring
Many wrist braces include removable metal or plastic stays. These may require professional contouring within the manufacturer’s instructions. The stay should support the prescribed angle rather than force the wrist through pressure at its ends. Carbon, molded shells and components not approved for heat adjustment should never be modified with inappropriate tools.
Pressure and Circulation Check
After application, inspect colour, temperature, capillary refill, sensation and swelling as appropriate. Ask about numbness, tingling, burning and focal pain. Recheck the skin after a short trial and after using the hand for the intended safe activities.
Increasing pain, persistent redness, numbness, colour change, swelling, skin injury, a broken component or loss of the prescribed position requires prompt clinical review.
Test Function—not Only Resting Position
If the device is intended for functional use, check the tasks it should support. Can the patient grip a mobility aid safely? Can necessary finger motion occur? Does the brace interfere with clothing, work or hygiene? A technically neat fit may still be impractical if it prevents the activity for which it was prescribed.
Patient and Caregiver Education
- Demonstrate application and removal, then ask for a return demonstration.
- Explain the correct strap order and tension.
- Provide the prescribed wearing schedule.
- Teach skin inspection and warning signs.
- Explain cleaning and drying according to product instructions.
- Clarify which activities are permitted or restricted.
- Arrange follow-up and provide a route for concerns.
Document the Delivery
Record the product, side, size, fit, joint position, modifications, instructions and patient response. Documentation supports continuity when another team member performs follow-up and helps identify whether later discomfort relates to fit, use, swelling or a change in the clinical condition.
My Workshop Reflection
Prefabricated orthoses save fabrication time, but they do not remove professional responsibility. Careful fitting protects the skin, preserves function and improves the chance that the patient will actually use the device. The final product is not the brace in its packaging—it is the correctly selected, fitted and understood orthosis on the patient.
This blog shares general professional experience and does not identify any patient, workplace, brand or organization.