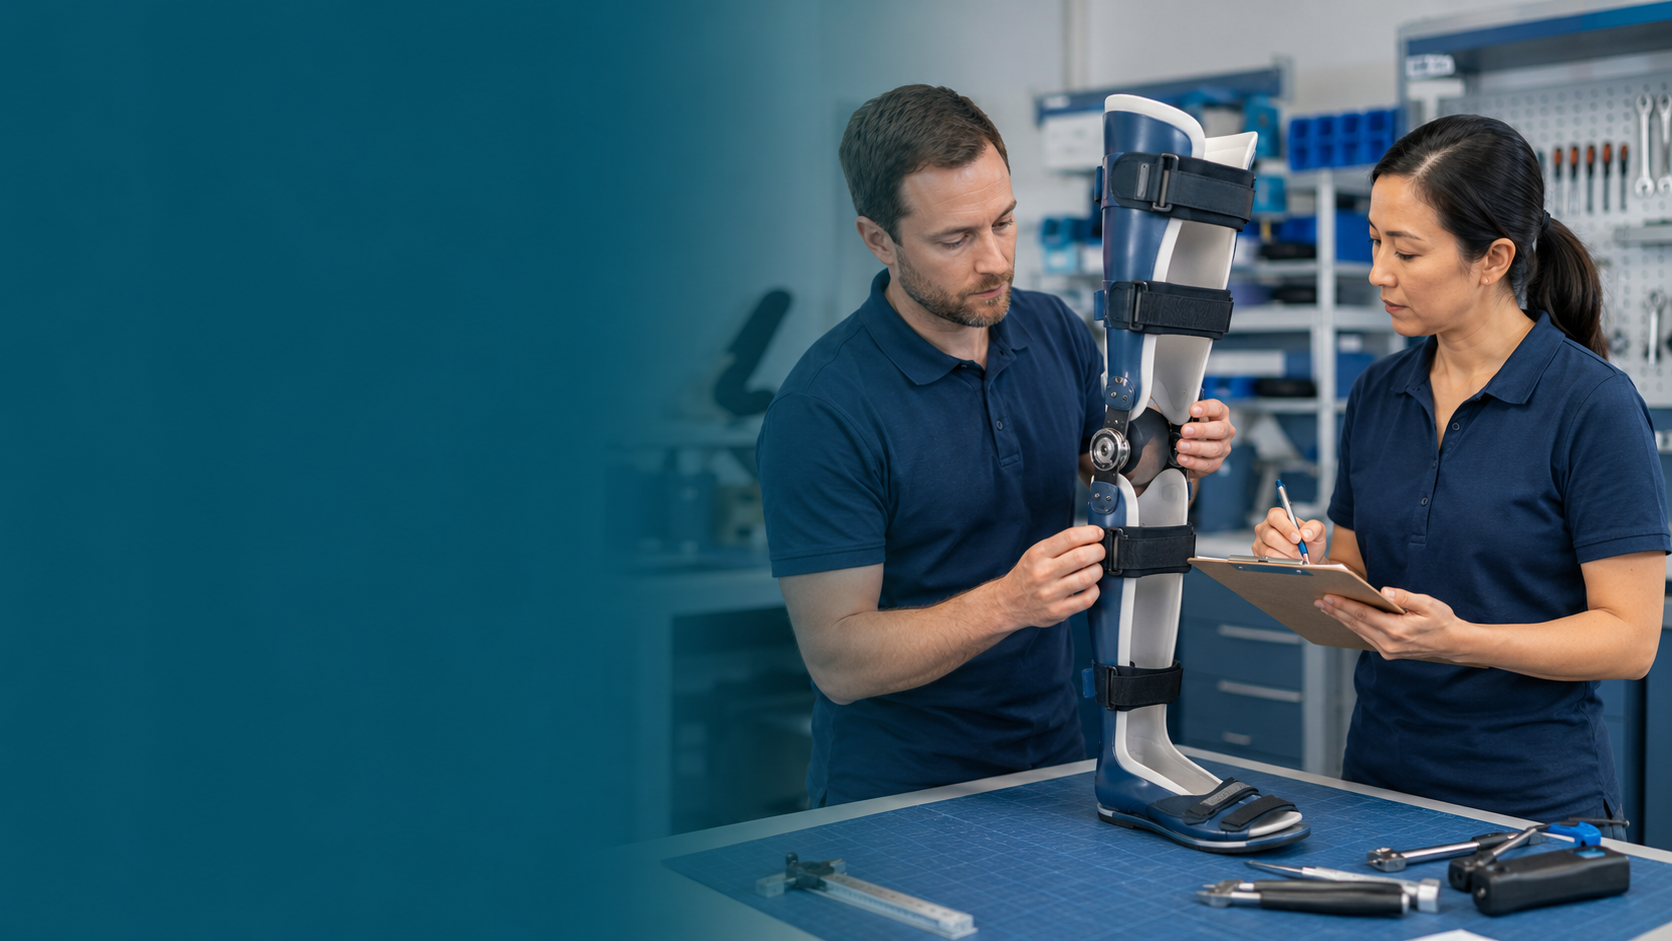
Quality Checks Before Delivering a Custom Orthosis
A finished orthosis may look polished and still be clinically wrong. Final quality control connects the prescription, fabrication and patient fitting. It protects against avoidable structural failure, skin injury and functional problems.
Delivery should occur only when the device is correct on paper, safe on the bench and effective on the patient.
1. Confirm Identity and Prescription
- Correct patient and side
- Correct orthosis type and clinical goal
- Required joints, stops, range and materials
- Weight, activity and special precautions
- Compatible footwear and accessories
2. Inspect Structural Safety
Examine plastic thickness, reinforcements, joints, uprights and high-stress transitions. Look for cracks, bubbles, webbing, delamination, sharp notches or excessive thinning. Confirm that components are appropriate for the patient’s weight and activity.
3. Check Joints and Fasteners
Move each joint through its intended range. Locks must engage and release reliably. Screws, rivets and attachment points should be secure without protruding into the interface. Paired joints must be aligned and move without binding.
4. Review Trimlines and Edges
Trimlines must provide the prescribed control while clearing vulnerable anatomy. All edges should be smooth, rounded and free from sharp transitions. Reliefs and padding should be symmetrical where intended and firmly bonded.
5. Check Straps and Interfaces
Straps require correct direction, length, labeling and secure attachment. Buckles and hook-and-loop closures should work throughout the expected range. Linings must be smooth, clean and free from adhesive ridges.
6. Bench Alignment
Verify footplate position, ankle angle, joint axis, upright contour and overall symmetry. Check that the device sits correctly in the intended shoe and that heel height does not change the planned alignment.
7. Clinical Fitting
At fitting, confirm donning, total contact, heel seating, pressure distribution and comfort. Observe standing, transfers and walking where appropriate. Verify that the orthosis produces the intended ankle, knee and hip effect.
8. Patient Education
- How to apply and remove the device
- Wearing schedule and appropriate socks
- Skin inspection and warning signs
- Cleaning and maintenance
- Footwear requirements
- What not to adjust at home
- Follow-up and repair contact
The prescription is unclear, a structural defect is present, a lock is unreliable, skin pressure is unacceptable, the device produces unsafe gait or the patient cannot use it as intended.
Documentation and Traceability
Record component details, final settings, changes made at fitting, education provided and the follow-up plan. Documentation supports continuity, repair decisions and learning across the clinical and workshop teams.
My Workshop Reflection
Quality control is not a final glance; it is a disciplined pause before responsibility transfers to the patient. A checklist supports consistency, but professional judgment confirms whether the device truly serves its purpose.
This blog shares general professional education. Local regulations, manufacturer instructions and facility quality systems must always be followed.